Sassy Saints Lash Lift offers a transformative experience‚ enhancing natural lashes with a curl and lift․ This popular treatment provides a semi-permanent solution‚
mimicking the effect of eyelash extensions without the daily maintenance․ YouTube’s extensive video library showcases tutorials and guidance for achieving stunning results‚
empowering both professionals and enthusiasts to master this sought-after beauty technique;
What is a Sassy Saints Lash Lift?
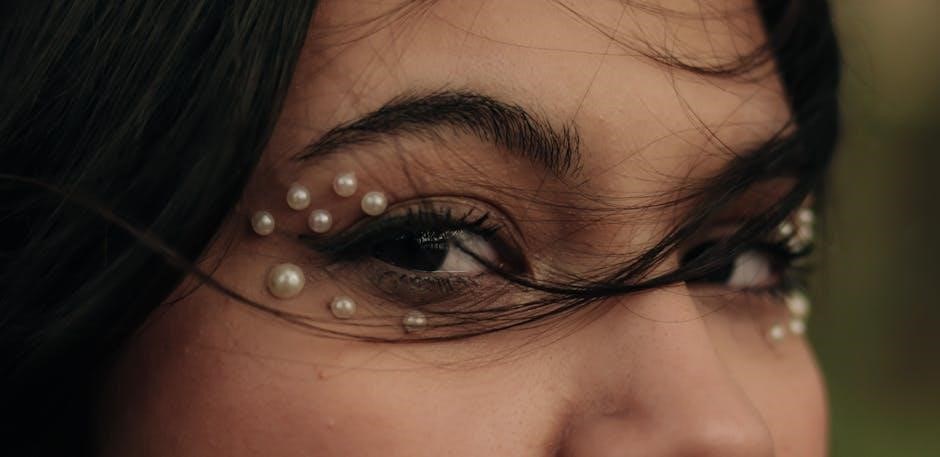
A Sassy Saints Lash Lift is a semi-permanent cosmetic treatment designed to curl and lift your natural eyelashes‚ creating the appearance of longer‚ fuller lashes without the need for extensions․ Unlike traditional perms‚ a lash lift focuses on enhancing your existing lashes rather than altering their structure drastically․ The process involves carefully applying a lifting solution to the lashes while they are adhered to a silicone shield of varying sizes‚ chosen to achieve the desired curl․
This technique‚ frequently demonstrated on platforms like YouTube‚ allows for customization based on individual lash length and desired style․ The lifting solution breaks down the disulfide bonds in the hair‚ allowing it to be reshaped․ Following this‚ a neutralizer is applied to reform the bonds‚ locking in the new curl․ The result is a natural-looking lift that lasts for several weeks‚ eliminating the need for daily curling or mascara․ Tutorials available online emphasize the importance of proper application and timing for optimal results․
Benefits of a Sassy Saints Lash Lift
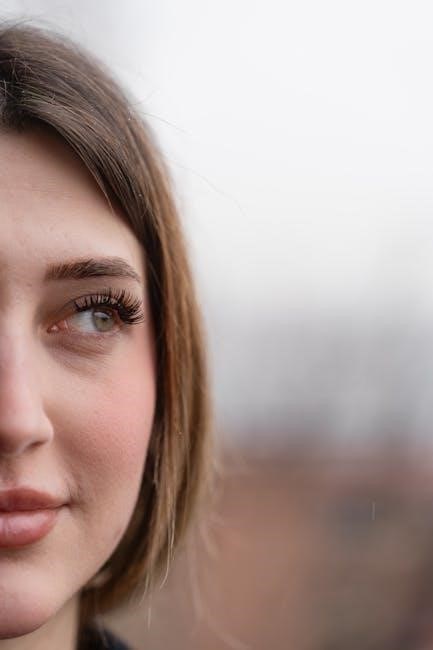
A Sassy Saints Lash Lift offers numerous advantages‚ making it a popular choice for those seeking enhanced lashes․ Primarily‚ it provides a natural-looking curl and lift‚ opening up the eyes and creating a more youthful appearance․ Unlike extensions‚ a lash lift works with your natural lashes‚ minimizing damage and promoting healthy lash growth․ The low maintenance aspect is a significant benefit; clients can typically forgo mascara and lash curlers for several weeks․
Furthermore‚ the treatment is relatively quick‚ typically taking around 45-60 minutes․ Online resources‚ including YouTube tutorials‚ highlight the versatility of the lift‚ allowing for customization of curl intensity․ It’s suitable for various lash types and lengths․ The lift is also waterproof‚ meaning the curl remains even after swimming or exposure to moisture․ Ultimately‚ a Sassy Saints Lash Lift delivers a convenient and effective way to achieve beautifully enhanced lashes․
Preparing for the Lash Lift
Proper preparation is crucial for a successful Sassy Saints Lash Lift․ This involves a thorough client consultation‚ a mandatory patch test‚ and understanding contraindications for safety․
Client Consultation & Patch Test
A detailed client consultation is the cornerstone of a safe and effective Sassy Saints Lash Lift․ Discuss the client’s lash health‚ any previous lash treatments (extensions‚ perms)‚ allergies‚ and sensitivities․ Inquire about eye conditions like blepharitis or dry eye syndrome‚ as these may be contraindications․
Crucially‚ a patch test must be performed 48 hours prior to the full lash lift procedure․ Apply a small amount of the lash lift lotion to the inner corner of the eye area‚ observing for any adverse reactions – redness‚ swelling‚ itching‚ or discomfort․ This step is non-negotiable‚ ensuring client safety and preventing potential allergic reactions․ Document the patch test results meticulously․ YouTube tutorials emphasize the importance of this step‚ highlighting potential risks of skipping it․ A thorough consultation builds trust and manages expectations․
Contraindications & Safety Precautions
Several contraindications necessitate postponing a Sassy Saints Lash Lift․ These include active eye infections (conjunctivitis‚ styes)‚ recent eye surgery‚ skin irritation or inflammation around the eyes‚ and allergic reactions to any of the kit’s ingredients․ Pregnancy and breastfeeding also require caution; consultation with a physician is advised․
Safety is paramount․ Always wear gloves throughout the procedure․ Avoid getting the lotion in the client’s eyes – immediate irrigation with water is crucial if this occurs․ Ensure proper ventilation in the treatment area․ Never proceed if the client exhibits any signs of sensitivity during the patch test․ YouTube resources consistently stress meticulous adherence to safety guidelines․ Thoroughly review the Sassy Saints kit instructions and prioritize client well-being above all else․
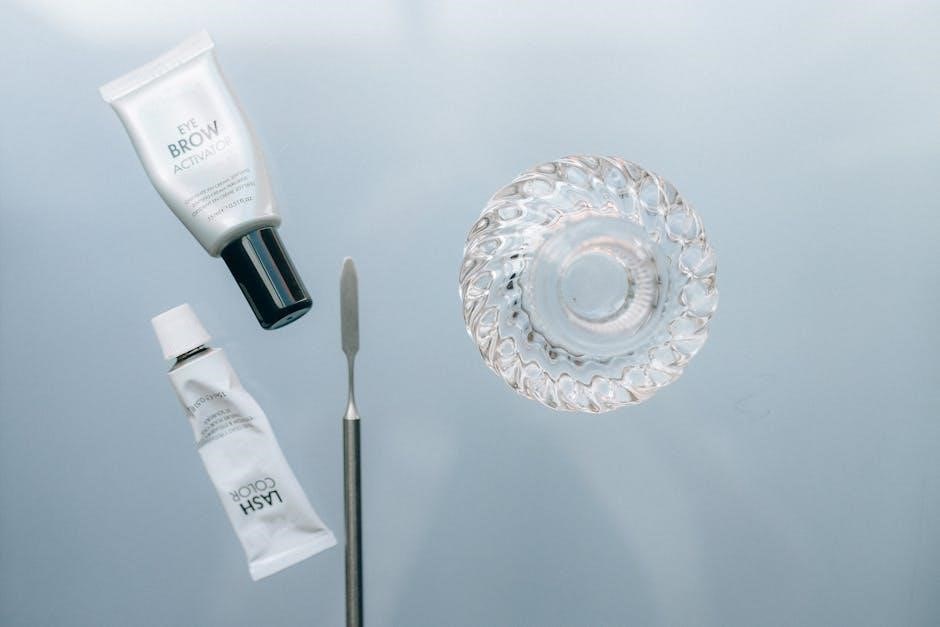
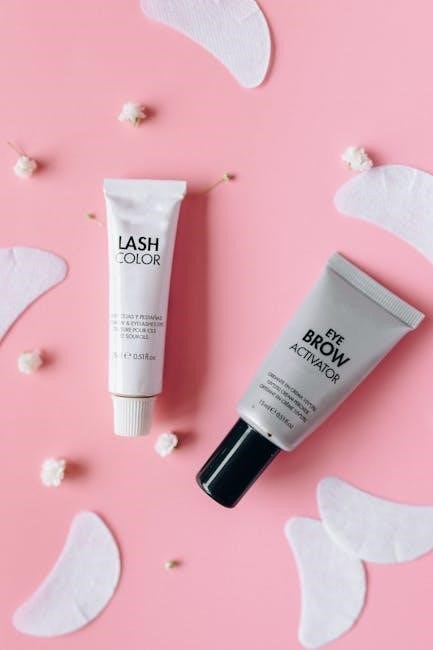
Tools & Products Required (Sassy Saints Kit Specifics)
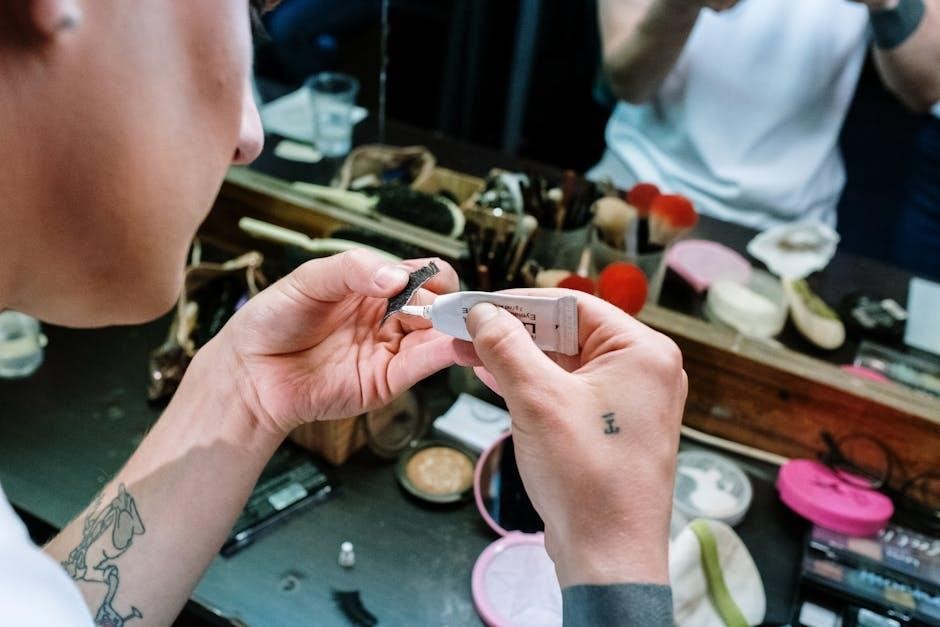
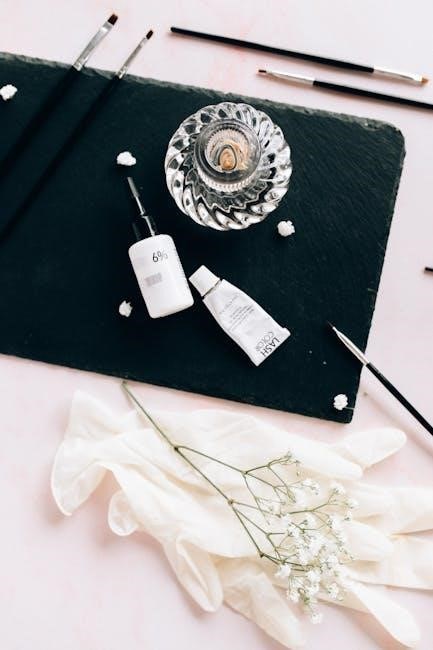
The Sassy Saints Lash Lift Kit typically includes silicone shielding pads in various sizes to accommodate different lash lengths‚ lash lift lotion (perm lotion)‚ neutralizing lotion‚ adhesive‚ micro brushes/applicators‚ cleansing solution‚ and under-eye patches․ Additional tools needed‚ but often sold separately‚ are a precision tweezer for shield placement‚ a timer‚ and disposable mascara wands for prepping lashes․
Kit specifics are crucial․ Ensure all products are within their expiration dates․ Familiarize yourself with each component’s purpose and proper usage‚ referencing the included instruction manual․ YouTube tutorials often demonstrate optimal product application techniques․ Maintaining a clean workspace and sterilizing tools between clients is essential for hygiene and preventing cross-contamination․ Proper storage of the kit components is also vital for product longevity․

Step-by-Step Lash Lift Procedure
The Sassy Saints Lash Lift involves a meticulous process: cleansing‚ shield application‚ perm lotion‚ neutralization‚ and finally‚ a thorough rinse․ YouTube provides visual guides!
Step 1: Cleansing & Prep
Initial Cleansing is Crucial: Begin by meticulously cleansing the client’s lashes and surrounding eye area․ Remove all traces of makeup‚ oils‚ and any cosmetic residue using a gentle‚ oil-free cleanser specifically designed for lash services․ This ensures optimal adhesion of the lash lift lotions and shields․ Thoroughness is key – even minimal residue can compromise the lift’s effectiveness․
Preparation for Application: After cleansing‚ gently dry the lashes․ A pre-treatment solution‚ often included in the Sassy Saints kit‚ can further degrease and prepare the lashes․ This step enhances the lift’s longevity and reduces the risk of irritation․ Ensure the lashes are completely dry before proceeding to the next stage․ YouTube tutorials emphasize the importance of a clean canvas for a flawless result․
Prime for Perfection: Finally‚ apply a lash primer to further enhance adhesion and protect the lashes during the lifting process․ This creates an ideal base for the silicone shields and lift lotions․
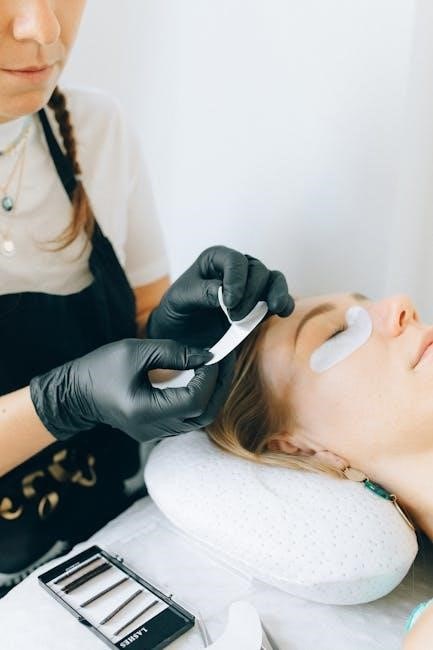
Step 2: Under Eye Protection Application
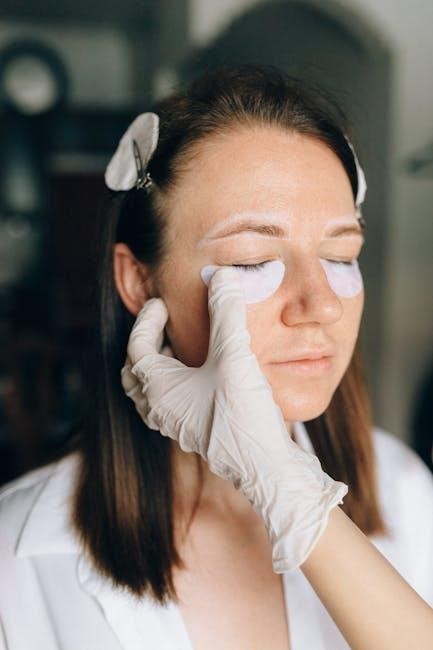
Protecting the Delicate Skin: Applying under-eye protection is paramount to safeguard the client’s skin from potential irritation caused by the lash lift solutions․ Utilize hydrogel patches specifically designed for lash lifts; these create a secure barrier and prevent any product from coming into contact with the under-eye area․
Proper Patch Placement: Ensure the patches are applied snugly along the lower lash line‚ completely covering the skin beneath the lashes․ Avoid any gaps or creases that could allow lotion to seep through․ The patches should be comfortable for the client throughout the entire procedure․ YouTube demonstrations highlight the importance of a precise fit․
Secure and Comfortable: Gently press the patches onto the skin to ensure full adhesion․ Check for any signs of discomfort and adjust the placement if necessary․ A secure and comfortable fit is crucial for a relaxing and safe experience․
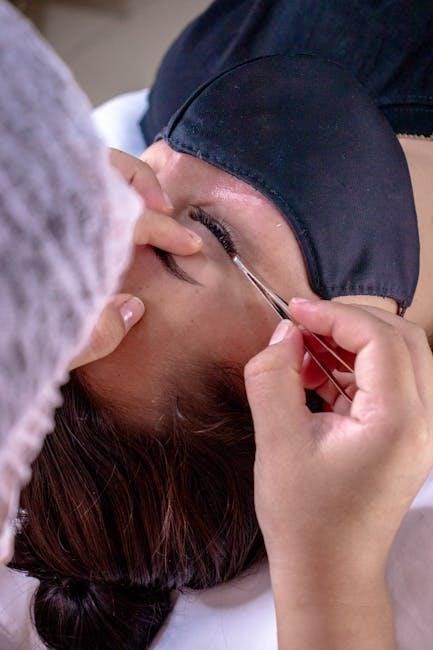
Step 3: Lash Perming – Applying the Silicone Shields
Selecting the Correct Shield Size: Choosing the appropriate silicone shield size is crucial for achieving the desired curl․ Sassy Saints kits typically include a range of sizes to accommodate varying lash lengths and natural curl patterns․ Carefully assess the client’s lashes and select a shield that closely matches their length‚ ensuring the lashes comfortably rest on the pad without overcrowding or extending beyond the edges․
Precise Application: Gently adhere the silicone shield to the upper eyelid‚ as close to the lash line as possible without touching the skin․ Ensure the shield is centered and securely attached․ YouTube tutorials emphasize a steady hand and careful placement for optimal results․
Lash Alignment: Using a micro-brush or similar tool‚ carefully comb the lashes upwards and onto the silicone shield‚ ensuring they are evenly distributed and follow the shield’s curve․ This step establishes the foundation for the lift’s shape․
Step 4: Applying Lash Lift Lotion (Processing Time)
Lotion Application: Once the lashes are securely positioned on the silicone shields‚ carefully apply the Sassy Saints Lash Lift Lotion to the lashes‚ starting from the base and working towards the tips․ Avoid getting the lotion on the skin‚ as this can cause irritation․ Use a micro-brush to ensure even saturation of each lash․
Precise Amount: Apply a moderate amount of lotion – too little may result in an incomplete lift‚ while too much can cause slippage․ YouTube demonstrations highlight the importance of a consistent‚ thin layer․
Processing Time: The recommended processing time for the Lash Lift Lotion varies depending on lash thickness and desired lift intensity‚ typically ranging from 8-12 minutes․ Closely monitor the lashes during processing and adhere to the manufacturer’s instructions․
Step 5: Removing Lash Lift Lotion & Applying Neutralizer
Gentle Removal: After the designated processing time‚ carefully remove the Lash Lift Lotion using a clean‚ dry micro-brush․ Ensure all traces of the lotion are removed from the lashes before proceeding to the next step․ Avoid harsh rubbing or pulling‚ which could damage the delicate lashes․
Neutralizer Application: Immediately following lotion removal‚ apply the Sassy Saints Neutralizing Lotion to the lashes‚ again starting from the base and working towards the tips․ This step is crucial for setting the new curl shape․
Even Coating: Similar to the lift lotion‚ ensure an even coating of the neutralizer is applied to all lashes․ YouTube tutorials emphasize the importance of thoroughness for optimal results and long-lasting lift․
Step 6: Neutralizing Lotion Application (Processing Time)
Timing is Key: Allow the Neutralizing Lotion to process for the recommended time – typically 5-8 minutes‚ as specified in the Sassy Saints kit instructions․ Precise timing is vital for achieving a stable and long-lasting lash lift․ Refer to YouTube guidance for visual timers and best practices․
Monitoring & Assessment: During the processing time‚ periodically check the lashes to ensure the neutralizer is working effectively․ Avoid disturbing the lashes unnecessarily․
Complete Neutralization: Complete neutralization is essential for locking in the curl․ Insufficient processing can lead to a weaker lift or reversion to the natural lash shape․ Following the Sassy Saints protocol‚ and referencing online resources‚ will maximize the lift’s longevity․
Post-Lift Care & Maintenance
Essential Aftercare: Maintaining a lash lift’s results requires gentle care․ Avoid oil-based products and excessive rubbing․ YouTube tutorials demonstrate proper techniques
for extending the lift’s duration and preserving lash health․
Aftercare Instructions for Clients
Following your Sassy Saints Lash Lift‚ meticulous aftercare is crucial for optimal results and longevity․ For the first 24-48 hours‚ avoid getting your lashes wet – this includes showering‚ swimming‚ saunas‚ and even steam rooms․ Water can compromise the newly formed curl․
Refrain from using oil-based products around the eyes‚ such as oil-based makeup removers‚ mascaras‚ or cleansers․ Oil breaks down the lifting solution and can cause the lift to drop prematurely․ Opt for oil-free alternatives․
Avoid rubbing or pulling at your lashes․ Be gentle when removing makeup and pat the eye area dry instead of rubbing․ Sleeping on your back is recommended during the initial 24 hours to prevent creasing․
YouTube offers numerous visual guides demonstrating proper aftercare techniques․ Regularly brushing your lashes with a clean spoolie will help maintain their shape and prevent clumping․ Following these simple steps will ensure you enjoy your beautiful‚ lifted lashes for weeks!
Troubleshooting Common Issues
Uneven Lift: If the lift appears uneven‚ it may be due to inconsistent lotion application or varying lash lengths․ Ensure thorough coverage during each step‚ paying close attention to shorter lashes․ Lash Lift Dropping Too Quickly: This often results from exposure to water or oil-based products within the first 24-48 hours․ Reinforce aftercare instructions with clients․
Irritation or Redness: A patch test is vital to identify sensitivities․ If irritation occurs‚ immediately rinse with water and discontinue use․ Lashes Sticking Together: Gently brush with a clean spoolie to separate lashes․ Avoid excessive manipulation․
Insufficient Curl: Processing times may need adjustment based on lash thickness and desired curl․ YouTube tutorials demonstrate techniques for achieving optimal results․ Always refer to the Sassy Saints kit instructions and prioritize client safety․ Proper technique and diligent aftercare minimize these issues․
Lash Lift Duration & Repeat Appointments
A Sassy Saints Lash Lift typically lasts between 6-8 weeks‚ depending on the natural lash growth cycle․ Clients will notice a gradual lessening of the curl as new lashes grow in․ Repeat appointments are generally recommended every 6-8 weeks to maintain the lifted effect․
Encourage clients to avoid oil-based products and excessive rubbing of the eyes to prolong the lift’s duration․ YouTube provides helpful visual guides on maintaining lash lift results․ Consistent aftercare significantly impacts longevity․
During subsequent appointments‚ assess the client’s lash condition and adjust processing times accordingly; Remind clients of the importance of a patch test before each service․ Regular lifts do not damage natural lashes when performed correctly‚ offering a sustainable beauty enhancement․
Sassy Saints Specific Techniques
Sassy Saints emphasizes customized shield selection and precise lotion placement for optimal results․ YouTube tutorials demonstrate adapting techniques to diverse lash shapes‚
ensuring a natural‚ flattering lift for every client․
Achieving Different Curl Styles
Sassy Saints lash lift versatility lies in manipulating curl patterns․ Shield size is paramount; smaller shields create a tighter‚ more dramatic curl‚ ideal for straighter lashes desiring significant lift․ Conversely‚ larger shields yield a subtle‚ natural curl‚ perfect for already curled lashes seeking enhancement․
Technique refines the style further․ Positioning the lashes higher on the shield intensifies the curl‚ while lower placement results in a gentler lift․ YouTube resources demonstrate these nuances‚ showcasing how to angle the lotion during application to direct the curl’s direction․ Mastering these adjustments allows technicians to tailor the lift to individual preferences‚ delivering bespoke results ranging from a barely-there lift to a bold‚ glamorous curl․ Consistent practice and observation are key to perfecting these Sassy Saints techniques․
Working with Different Lash Types
Sassy Saints lash lifts require adaptation based on natural lash characteristics․ Fine lashes benefit from shorter processing times and potentially multiple coats of lifting lotion to achieve desired curl‚ preventing damage․ Coarse‚ resistant lashes may require extended processing‚ carefully monitored to avoid over-processing and breakage․
Lash length also dictates technique․ Shorter lashes need shields that fully support the entire lash length‚ while longer lashes may require careful placement to ensure a uniform lift․ YouTube tutorials highlight how to assess lash health and adjust product application accordingly․ Understanding lash porosity is crucial; drier lashes may need extra hydration during the process․ Successful Sassy Saints application hinges on personalized treatment‚ respecting each client’s unique lash profile․
Advanced Tips & Tricks
Mastering Sassy Saints involves precise timing and product saturation․ YouTube demonstrates techniques for maximizing lift and hold‚ while avoiding common pitfalls for flawless‚ lasting results․
Maximizing Lift & Hold
Achieving a dramatic and long-lasting Sassy Saints Lash Lift requires attention to detail throughout the process․ Proper shield selection is paramount; ensure the shield perfectly contours to the client’s lash length and natural curl․ Thorough saturation of the lashes with the lifting lotion‚ without flooding the skin‚ is crucial for optimal results․
Processing time must be strictly adhered to‚ varying based on lash thickness and desired lift intensity – YouTube tutorials offer guidance․ Neutralizing correctly sets the new curl shape‚ and avoiding water contact for the first 24-48 hours is essential․ Consider a lash tint post-lift to further enhance the appearance‚ creating a bolder‚ more defined look․ Regular aftercare‚ including gentle brushing‚ will prolong the lift’s duration and maintain its beautiful curl․
Avoiding Common Mistakes
Successfully executing a Sassy Saints Lash Lift hinges on avoiding frequent errors․ Insufficient lash cleansing before application can hinder lotion penetration‚ reducing lift effectiveness․ Applying too much lotion leads to product migration and potential skin irritation; precision is key․ Incorrect shield placement results in uneven curls or discomfort for the client․
Rushing the process compromises results; each step demands careful attention․ Neglecting the patch test can cause allergic reactions․ Failing to educate clients on proper aftercare shortens the lift’s lifespan․ YouTube’s resources highlight these pitfalls‚ offering visual demonstrations of correct techniques․ Always prioritize client safety and adhere to recommended processing times to prevent damage and ensure a flawless‚ long-lasting lift․